Friday, 1 August 2014

My Everyday Make Up - How to Achieve a Natural Look!

I often come across tutorials for "no make up" make up tutorials, and to be honest, there's always so much involved! Here's how I achieve my natural look with very few products! (This is pretty much my daily make up because I'm so lazy XD)

1) Choose a concealer and hide any flaws
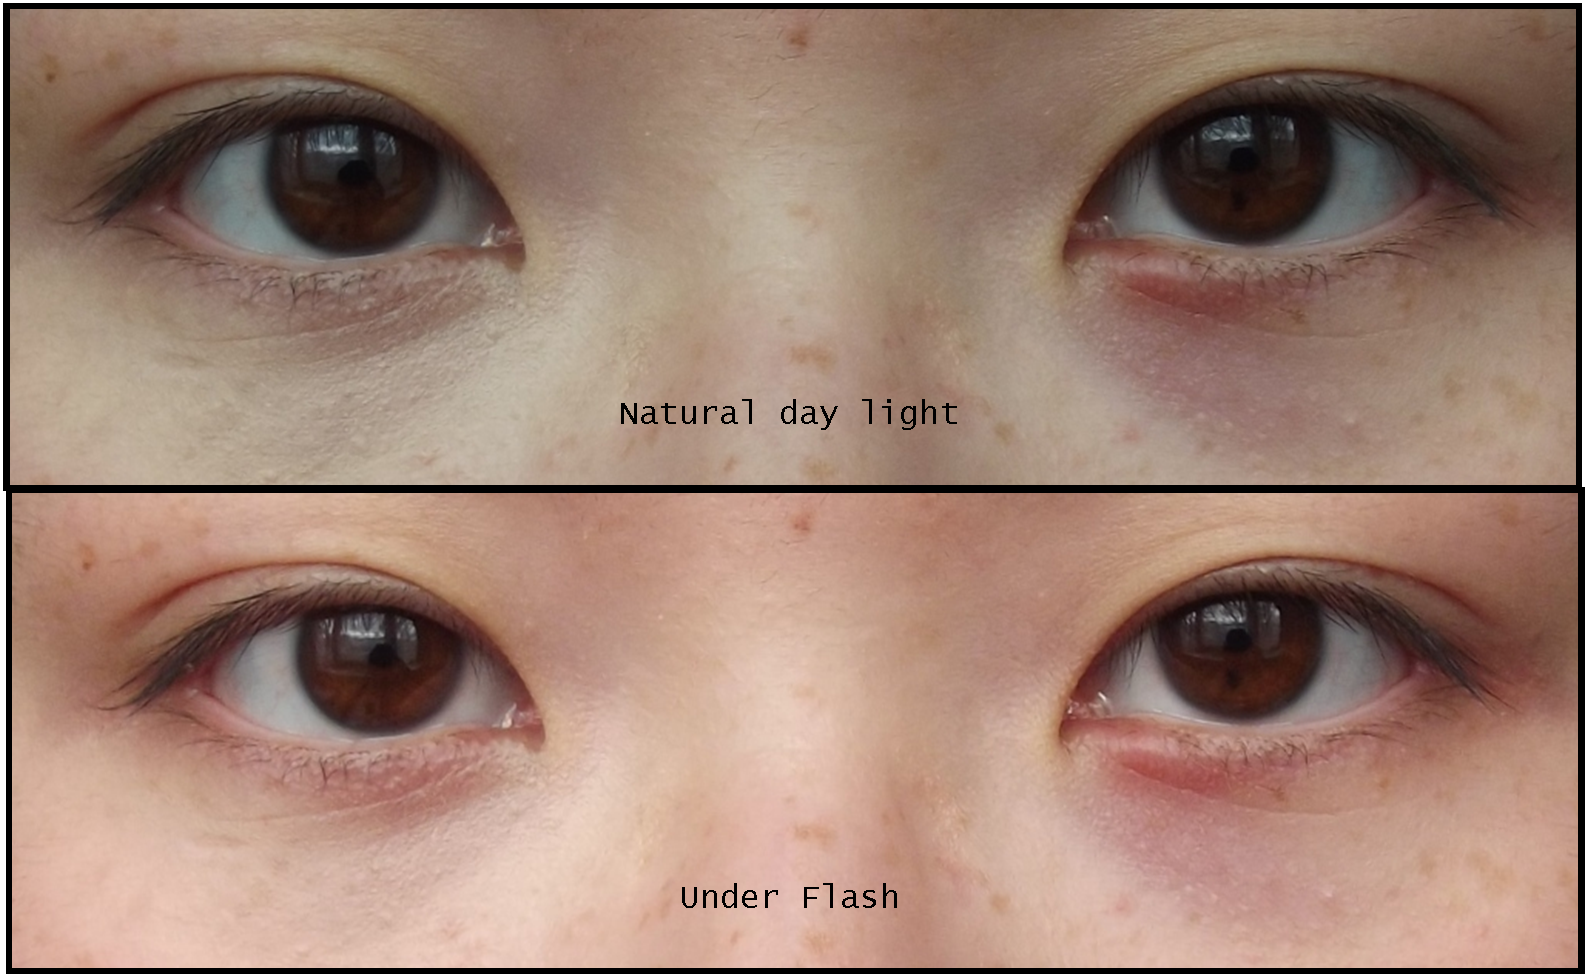
Hide dark circles and uneven pigmentation with a concealer/foundation of your choice. I suggest spot-concealing, as in only cover the areas that actually need coverage! Most of the time I will just use my fingers to blend the product, but occasionally I will use my Sigma brushes. If your skin is oily, use a powder to set the concealer.

2) Fill in your brows!
For a polished and youthful look, fill in your brows with a matte powder or a pencil that gives a natural effect. Follow the natural shape of your brows. Make sure you don't draw them in too heavily and use a spoolie to diffuse the colour a little for more natural looking brows. I used to a matte sketchily-pigmented black powder to fill in my brows as it gives the most natural look but I've recently changed to Shu Uemura's Hard 9 pencil. 

3) Curl your eyelashes! 
I don't do anything else to my eyes on most days purely because my eye make up takes a long time as I need to prime and apply things perfectly. If I'm in need of an eye brightener, I'll lightly apply a pale shimmery cream eyeshadow on the inner half of my lower eyelid.

4) Blush and Contour
I need blush to look alive, the corpse look really isn't attractive! I usually apply it above the apple of my cheeks as I find it a more flattering place to apply blush. I use a contour powder on my nose and around the edges of my face to give some definition, I'm not really particular about it but I feel it does give a more structured look.

5) Apply lip colour
I actually really like red as my lip colour as it's vibrant but also can look natural. Orange is also a personal favourite and goes well with a coral blush. I use both tints and lipsticks to achieve a soft coloured lip that goes well with a natural look.

My make up picks for a natural look!


From top row left to right
Canmake Creamy Touch Rouge in Sweet Cherry
Peripera Tint Water in Cherry Juice and Orange Juice
Etude House Fresh Cherry Tint in RD301
Garnier Anti-Dark Circle Concealer
Innisfree Mineral Stick Concealer in no.2
Shu Uemura Hard 9 pencil in Stone Grey
MUA matte black eyeshadow
Kate Cheek Colour in PK-2
RMK Crayon and Powder Eyes in Coral Beige (I think this is limited edition though)
Rimmel Eyeshadow quad (This is discontinued now, but I use the lightest shade to highlight me eyes)

And that's it! I've written quite a hefty chunk for what's supposed to be a quick and natural look but this really doesn't take me more than 10 minutes.
End result: I look like a more awake and fresher version of myself but the make up is barely visible. 

Jia
x

Saturday, 18 May 2013

I joined Bloglovin!

Yup, I jumped onto the bandwagon to see what all the fuss was about!
Please follow if you feel inclined to do so ^^
See you there!

Jia
x

Thursday, 9 May 2013

Highly Recommended! - St Ives Body Lotions

This is just a short post as a lot of my others are really long and rather rambly. These harsh and drying British winters always leave my skin feeling itchy and dry, especially the skin on my back and legs. I've tried dozens of brands over the years, such as Garnier, Vaseline, Boots own brands and The Body Shop, but nothing ever comes close to St Ives and their range of body lotions. When using all the other brands, my legs would be itchy and red and the cream would pretty much have no effect on calming and moisturising my skin. St Ives on the other hand is nothing like that. My skin always stays smooth and happy when I use it! The Body Shop's body butters are also amazing, but are sort of expensive for me as I use body lotion daily. St Ives usually retails at around £4 a bottle, but I've not seen them at Superdrug in a very long time! (Where I usually buy them). I really hope they're not being discontinued TT So whenever I see them at other stores or online, I always stock up. I recently found it at bargain drugstore, Savers, for £2 and bought 4 bottles ^^ 


There's quite a few choices in the range, there's a firming lotion (I've heard it's discontinued now though ^^"), one for sensitive skin with oats and shea butter and the 24 hour moisture lotion, each with their own specific scent. I'm not very good with naming scents to be honest, but the shea one smells sort of sweet, the 24 hour one smells refreshing and the firming one I really don't know how to describe. I want to say seaweed but I think that comes to mind because the formula contains algae XD


I have tried them all and definitely recommend them with two thumbs up! ^^ They all have a buttery texture that applies really easily without leaving a greasy feeling on your skin, and the smell doesn't last either so won't interfere with what ever perfume you decide to wear ^^

So if you're suffering from winter dryness and nothing has worked for you, give these lotions a go!

Jia
x

Sunday, 5 May 2013

Lacura Concealer Pen Review

After purchasing this pen for a very long time, here's a quick review on something that truly shows you don't need to spend a ridiculous amount for a good quality product. I spent a mere £3.59 on this concealer pen and I definitely have no complaints.

Housed in a sleek and shiny gunmetal coloured pen, the concealer has a creamy and slightly thin texture which helps to keep it blendable. The product is dispensed with a popular click button mechanism and the product is applied with a small brush tip made of silky synthetic fibres. 

Definitely doesn't look like it cost just £3.59!
The brush tip is silky and soft!
It comes in three shades whose names I cannot remember, but I have the middle shade called Savannah. Lacura describes this shade as suitable for 'sandy' complexions. Now I don't think my skin is sandy but the lightest was for pinker complexions and the darkest for olive complexions, so I thought the middle shade was my best bet and it's actually a pretty close match. 

I usually apply this in thin layers, alternating between applying the product directly with the brush or onto the back of my hands first and then patting on with my fingers. The product blends easily with the warmth of my finger tips and can be layered for more coverage without it getting cakey. Of course the more you layer the more obvious it'll be (just like all concealers), but I don't find it leaves an overly dry finish. I haven't timed how long this lasts on my skin but I always set it with powder and I don't seem to notice much fading by the end of the day.

I mainly use this on my dark circles, and as you can see, it does one hell of a good job! It doesn't blank out my dark circles completely (nothing ever does) but I'm very pleased with the product. It does a nice job of covering blemishes too but I would say it's forte is definitely dark eye circles! It actually states on the box that it's especially effective on dark circles :D

Concealer on right eye, left eye left bare.
See the difference? :D
People have often compared this to the YSL Touche Eclat, but I don't really see where this is coming from. The Touche Eclat is a highlighter, this is a concealer. I know they say the Touche Eclat can be used to hide dark circles with its light reflecting formula, but I don't think it does a very good job of that.

Here's a shot of the back of the packaging for more information from the brand, including the ingredients list. 


I'm really happy I tried this product, you can hardly find a concealer at this price that does such a good job at concealing! I will definitely repurchase!
Jia
x


Friday, 3 May 2013

Testing Out the Caveman Regime

I recently started the caveman skincare regime after wondering if my recent bout of regular breakouts were caused by using too many products on my face. I've created a new page called the Caveman Regime Diary (click here) to document my day to day experience on this new regime. If you're also interested or are already on this regime, let me know and we can work through this together! ^^

Jia
x

Tuesday, 30 April 2013

My Everyday Go-To Blushers

Not sure how many times I've written this, but blush is one of my favourite products to use. It's just one of those things that makes me feel happier when wearing it because I know I no longer look like a corpse.

My preferences lean towards pink colours, more specifically ones that can create a dolly or child-like cheek, although I do occasionally use an orange tone blush. I usually sweep the colour just above the apple of my cheek to create a cuter and more natural effect. I know its written everywhere to apply blush directly to the apples of your cheeks, but I don't think it's flattering for my specific face shape.

Everyone has their own favourite blushes, and here are mine :)

Top row L-R: Mac Well Dressed. Bourjois Rose Frission
Bottom row L-R: Bourjois Rose D'Or. Barry M 05 Orange blush 
MAC Well Dressed Blush
A pale bubblegum pink with delicate silver shimmers.
I love how this blush imparts a light pink glow on my cheeks, making my complexion look brighter and cuter. Its satiny finish doesn't leave skin overly shimmery and applies and blends easily. 
This blusher is quite pale though, so most probably won't show up darker skin tones :(

Bourjous Rose D'Or Blush
Aside from these blushes having a habit of frosting over when used over a period of time, (which is why both Bourjois blushes have scratch marks over them so I can get more colour out of them), I really love the colour of this blush. It's a medium rosey coloured blush with silver and multi-tonal shimmers. I would describe its effect as innocently ethereal.

Bourjois Rose Frisson Blush
That's right, another Bourjois blush! This one is a lot more red based than Rose D'Or and has fewer noticeable shimmers, it leaves a more obvious finish and makes you look as if you've just finished some light exercise. That can't be bad, right? :D

Barry M 05 Orange Blush
The only non-pink blush I use frequently! This blush is SUPER pigmented so you have to use a light hand, but it gives me a fresh faced look without making my cheeks look an odd tanned colour.

What are your favourite blushes? ^^

Jia
x


Friday, 19 April 2013

Kate Eyebrow Pencil Review

I only caught onto how important eyebrows were some time mid last year. I first used a matte black eyeshadow to define my arch and fill in sparse spots on my eyebrows, then decided I wanted to try out an eyebrow pencil. After searching high and low on the internet for reviews, I settled for the Kate Eyebrow Pencil. I must say, I absolutely love it.


The pencil is packaged in a simple, small and slim twist up design. At first I disliked the fact that it didn't come with a lid, but the product hasn't been affected by the lack of a lid at all. You get around 2.5cm of product which seems like hardly anything, but it lasts for ages! I bought my first one last August and i have just about 0.5cm of product left. Not bad for around 9 months of use!

Just a small amount left! But it'll last me a while yet.
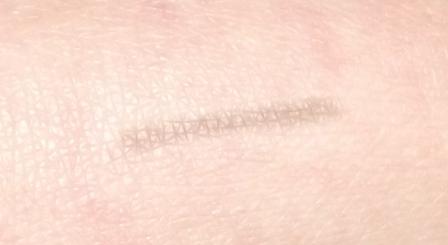
 The pencil is sort of dry in texture but soft enough so you can create strokes of softer or firmer colour depending on how hard you press the pencil to your eyebrows. The swatch shows the pencil to have rather light pigmentation, but once used on the brows it seems to have a better colour pay off. The pencil also doesn't have the waxy texture that a lot of brow pencils have so your brows will look natural and not gunky and stuck unnaturally to your face.

Swatch! I had to swipe the pencil 10 times to get this colour pay off
And this is how it looks on my brows. I filled in the brow on the left so you can compare the difference, and I must say there's a pretty big one! My brows look naturally dark and defined and the hairs aren't all gooped together.


To use this, first I fill in the ends of my eyebrows. I define the arch, create a slightly longer tail and colour in sparse areas. I don't use this for the head of the brow though as I'm generally quite heavy handed hence prefer using black shadow for the rest of the brow. I also follow the pencil with black matte shadow to set the pencil, but I have used it alone before and my brows look perfect till I remove my make up.

If you've applied a little too much pencil, just use a spoolie to brush off excess colour. Be warned that when you do this, the excess pencil with crumble off in tiny black specks, but a quick sweep of a powder brush will sort this problem. 

I use the colour BK which is perfect for me. The range also includes seven different shades, from blonde and varying shades of brown. I paid a mere $44 HKD for this pencil and for the quality that you get and the longevity of this product, it's definitely worth buying and stocking up on. 10/10 for sure!

Jia
x